Saturday 18 May 2013

and 126 days of photos

Days 113-126

I haven't done this for a while, I still have been taking my photos on a daily basis, but I haven't been uploading them on to this blog. I have pretty darn busy and the next few weeks are going to be just as or even more crazy. So here they are.

Day 113: 

A short afternoon walk and the sky looked like
it was on fire. We do sunsets well in the west.
Day 114: 
The day before ANZAC day and I brought around 120 ANZAC
biscuits to work. All hand made using my secret recipe!

Day 115: 
Anzac day and breakfast with friends at a cafe after
the dawn service at Kings Park.

Day 116: 
Another afternoon walk with the dog
with a little running mixed in.

Day 117: 
A night in by my self called for candles and girly TV.

Day 118: 
Cupcakes at a vintage fair with a friend.

Day 119: 
My tea infuser makes great tea even though its a
little old. A perfect relaxing treat after kickboxing.

Day 120: 
The funky wall at a burger joint before French class.

Day 121: 
Aunty/niece day out in the city. I spoiled her rotten.

Day 122:
Mexican for dinner with friends.

Day 123: 
Another walk to burn off the Mexican. The seed cases covered the
path making crackling noises as I walked over them.

Day 124: 
A bottle of sparkling with a friend before a night on the town.

Day 125: 
Drive through caramel frappe and banana
bread for breakfast on the way home.

Day 126:
Dallas being cheeky sleeping on the sheets
before I could make the bed. She left noise
prints everywhere. Time to wash the sheets.


It's almost time for me to put the next set of photos up. Hopefully I will remember to do those on time.

Until next time.
Love, love Elle.

Friday 17 May 2013

and Vegan Brownies

Vegan Brownies

As well as making chocolate free blondies I also made Vegan Brownies. All of this baking was for a girls night in with friends. As well as a friend with chocolate allergies, a vegan friend also attended. So I decided to make her some brownies so she didn't miss out on all of the fun.


Vegan Brownies
Preperation: 15mins
Cooking 30
Makes: 9-12

Ingredients:
  • 1 1/2 cups plain flour
  • pinch of salt
  • 1 tightly-packed cup brown sugar
  • 1 tsp baking powder
  • ½1/2 cup cocoa powder
  • 90g vegan dark chocolate, melted
  • 1/2 cup vegan margarine, at room temp.
  • 1 cup soy milk
  • 1 tspn vanilla paste
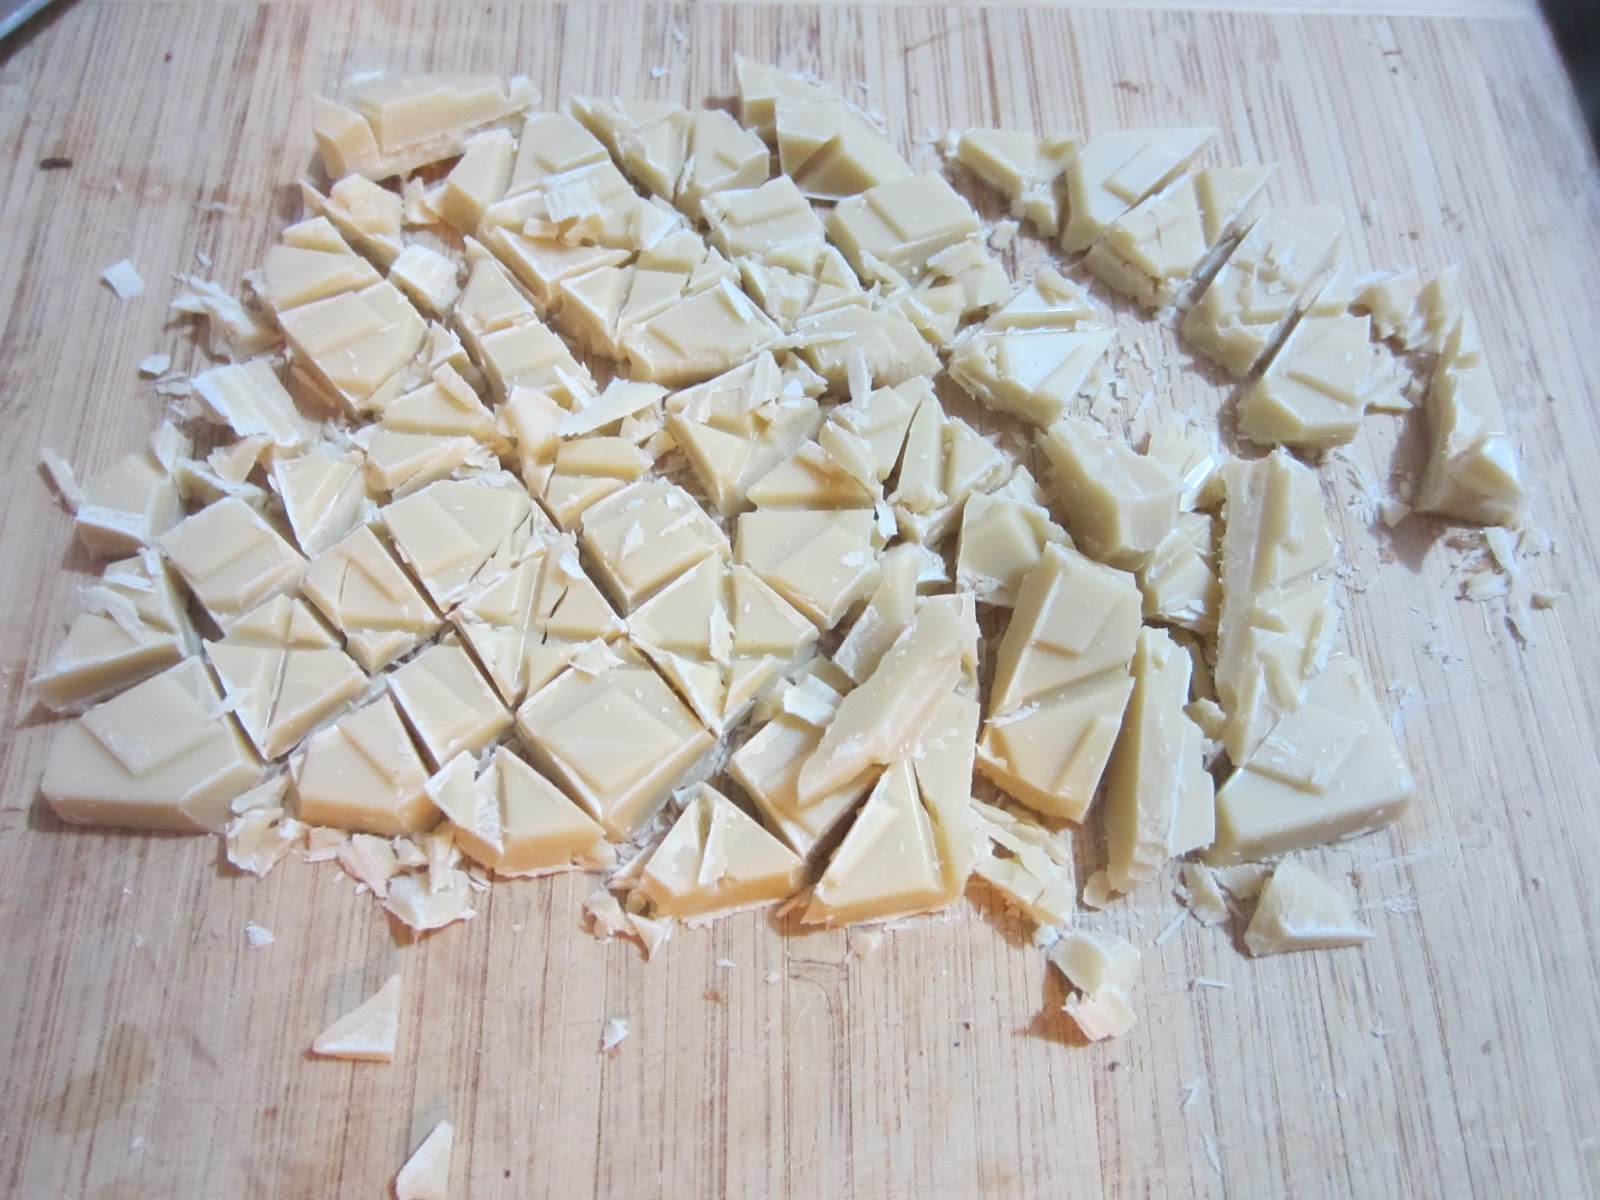
  • 100g vegan white chocolate, roughly cut up if a block.

Method:
  1. Preheat oven to 180 degrees Celsius. Line a baking tray with baking paper.
  2. In a bowl or the bowl of a stand mixer, sift in the flour, baking powder and cocoa. Add the salt and sugar. Gentle stir by hand, if you use a mixer for this it will likely go everywhere.
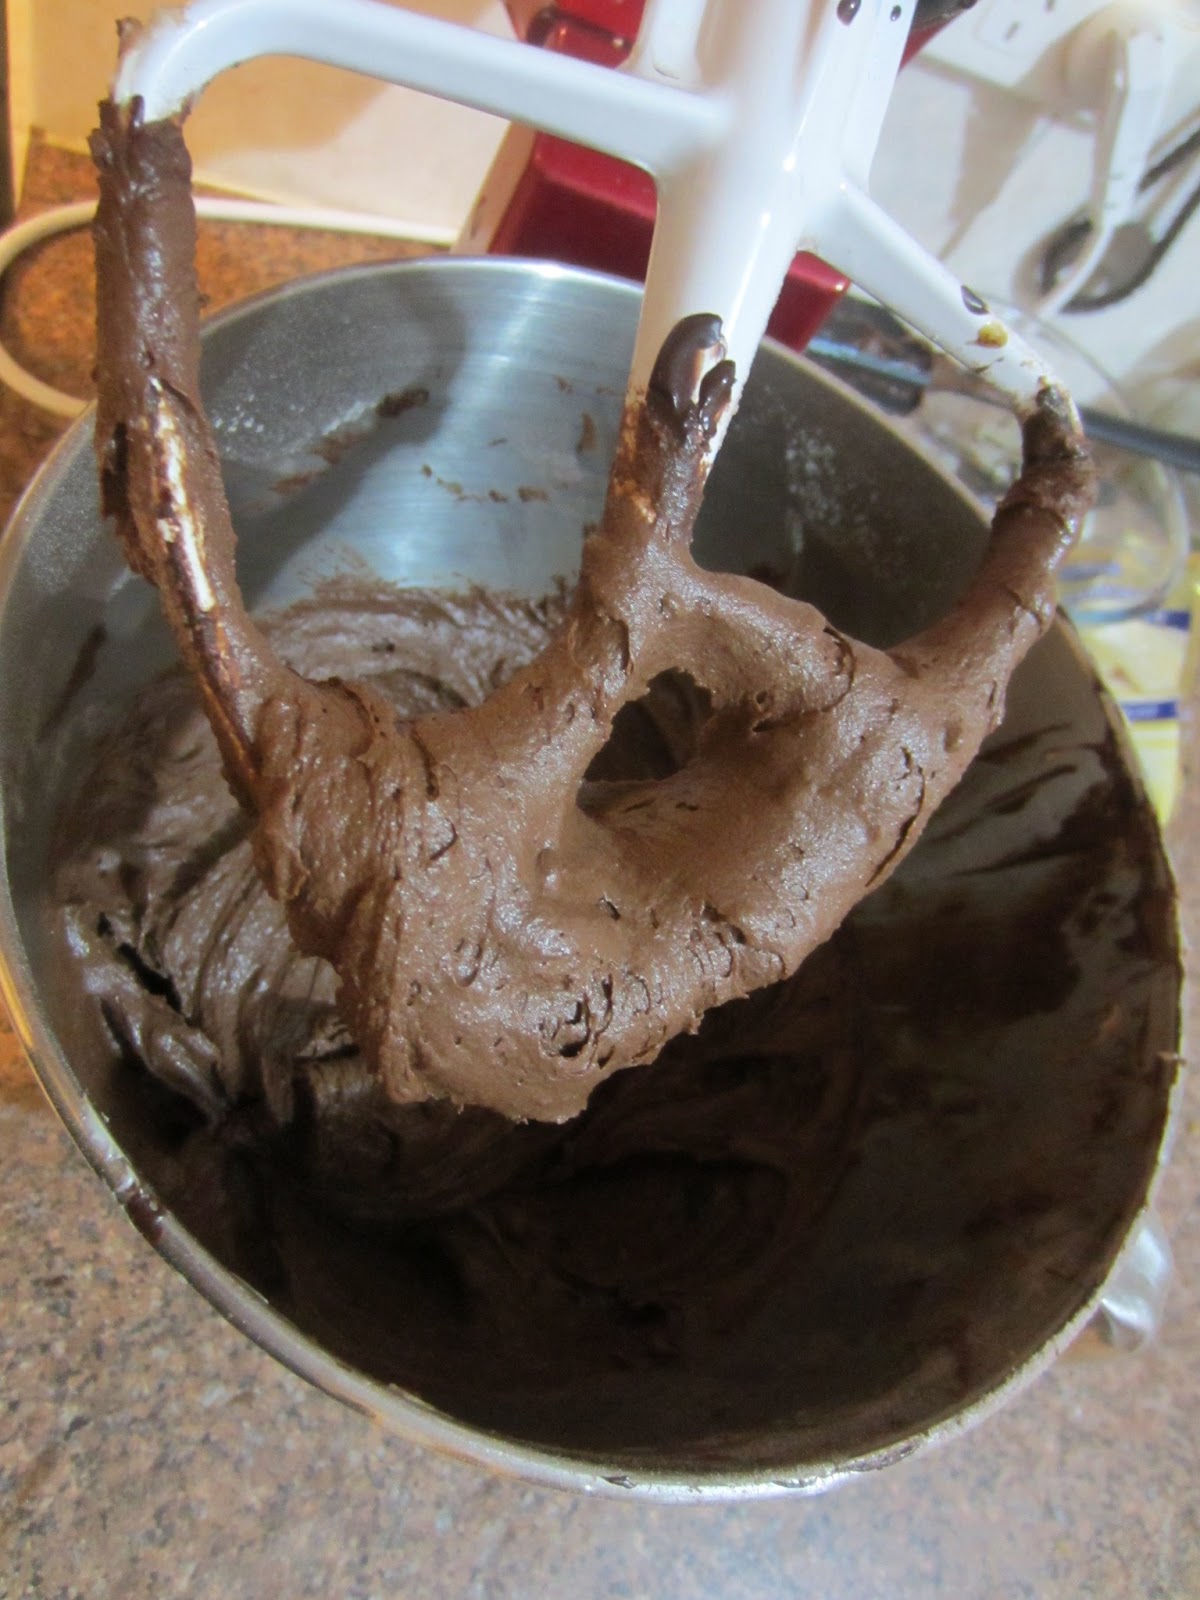
  3. Add the dark chocolate, margarine, soy milk and vanilla to the bowl and beat until the mixture is completely combined.
  4. Fold in the white chocolate pieces.
  5. Spoon in the brownie mixture into the baking tray and smooth the top.
  6. Bake for 30 minutes or so until the top looks cooked and a skewer comes out clean when poked into the centre of the brownies.
  7. Cool for 15 minutes before serving or slicing.  
  8. Serve immediately or refrigerate until needed.
Add all of the dry ingredients into the bowl.

Melt the vegan dark chocolate.

Add the wet ingredients.

Mix until combined.

Chop up the vegan white chocolate.

Mix in the chocolate chunks.

Pour into the prepared tray and flatten the top.

Bake.

Once cool, cut up and serve.

The brownies can easily pass as standard brownies. They were cake like brownies with a small nutty taste from the soy milk in them. But, obviously, use your favourite non-dairy milk. I am very pleased with the recipe and my vegan friend absolutely loved them. I had some left over dark cocoa which made up almost half the cocoa requirements and gave the finished product a richer flavour. Both of the brownies sat happily on the dessert table while we watch 'Memoirs of a Geisha' and 'Little Miss Sunshine'.

We are looking at making the movie night a regular thing and I look forward to exploring more vegan and chocolate free desserts for my friends.

Until next time.
Love, Love Elle.


Sunday 12 May 2013

and Chocolate Free Blondies

Chocolate Free Blondies

By right, blondies are cocoa free brownies. I only make the point of calling them chocolate free because a friend of mine is allergic to chocolate. More accurately cocoa. Poor girl, I know. So she can not eat a lot of delicious food, including white chocolate. Even though white chocolate doesn't have cocoa solids in it, it still has cocoa butter. What she can eat though is Milkybar because it contains no cocoa whatsoever. Another product she can eat is TimTam White. So I found a delicious blondie recipe and chopped up Milkybar instead of standard chocolate. Oh, she is also allergic to nuts as well as a large range of other foods, so walnuts etc were not an option.

Adapted from Blondies


Blondies
Preperation: 20
Cooking time: 25-30mins
Makes: 18

Ingredients:
  • 250g butter, melted
  • 2 cups of tightly packed dark brown sugar
  • 2 eggs, lightly beaten
  • 2 tsp of vanilla paste
  • 1 tsp of baking powder
  • 1/4 tsp of baking soda
  • 2 pinches of salt
  • 2 cups of plain flour
  • 1 block of Milkybar (or chocolate of choice. approx. 180g)
Method:
  1. Preheat the oven to 180°C. Spray cooking oil and line a 32x23cm rectangle cake tin. Put the melted butter and sugar in a bowl and whisk or into the bowl of your stand mixer and whisk together.
  2. Add the eggs and vanilla paste and continue to whisk.
  3. Add the flour, baking powder, baking soda and salt and change to a beater attachment or use a wooden spoon to mix together. Add roughly chopped Milkybar.
  4. Pour into the pan and spread evenly. Bake for 25-30mins or until a skewer comes out clean. Allow to cool before cutting into squares and serving.


Dark brown sugar for extra richness.

Lightly whisk the eggs.

Whisk butter and sugar.

Whisk in the eggs and vanilla paste.

Then stir in the flour, baking powder, baking soda and salt.

Roughly chop the Milkybar.

Mix in the Milkybar.

Pour into the prepared tin and bake.

Allow to cool.
  
Chop up the blondie into squares and serve.

The blondies were a huge success. The dark brown sugar helped to make them deliciously caramelly and very gooey. Using vanilla paste made them rich and decadent. My friend felt very special that I made blondies designed for her. She sadly misses out on a lot of great food because of her extensive allergy list, but I was more then happy to accommodate her needs. I am lucky enough to be able to eat anything that I choose, although I do choose not to eat a lot of things. I don't often bake for me, I prefer to bake for others.
Enjoy!

Until next time.
Love, love Elle.

Saturday 4 May 2013

and Vanilla Butter cupcakes with Orange Butter cream Icing.

Picnic delights

Adapted from The Australian Women's Weekly
 'Easy Cupcakes by colour' Cookbook.

A few months ago some friends and I got together for a little retro inspired photo shoot  for no other reason then we wanted to. We all brought a few plates of food to share as a part of the photo shoot picnic. My two offerings were cupcakes and mini scones. I though it was about time that I shared my cupcake recipe, since they were both simple and delicious little things.

Vanilla Butter cupcakes with Orange Butter Cream Icing.

Preparation: 30mins
Baking time: 20mins
Makes: 8

Cupcakes
Ingredients:

  • 1 cup self-raising flour
  • 90g softened butter
  • 1 tsp vanilla extract/paste
  • 1/2 cup caster sugar
  • 2 Tbl milk

Method:

  1. Preheat oven to 180°C/160°C fan-forced. Line eight holes of a 12-hole muffin with paper cases.
  2. Sift flour into a small bowl, add butter, extract/paste, eggs and milk. Beat with and electric mixer on low speed until ingredients are combined. Alternatively add ingredients to the bowl of your stand mixer and follow the same instructions.
  3. Increase speed to medium and beat until mixture changes to a paler colour.
  4. Drop 1/4 cup of the mixture into case. Bake for about 20mins. Remove from oven and stand the cakes for 5 minutes before turning out onto a wire rack. 
  5. Make icing.
Add sifted flour

and everything else into a bowl.

I used my stand mixer.

Combine.

The recipe only makes 8 but you can change the recipe to make 1.5 times.

Nice and creamy.

Add to pans.

Bake. Perfect sized cupcakes.


Butter cream
Ingredients:
  • 125g softened butter
  • 1 1/2 cups icing sugar
  • 2 Tbl butter
  • Red and yellow food colouring
  • Approx. 1/2 Tbs Orange essence
Method:
  1. Beat butter in a small bowl with an electric mixer or in the bowl of a stand mixer, until as white as possible.
  2. Add essence, then combine.
  3. Beat in sifted icing sugar and milk in two batches.
  4. Beat in small drops of colouring until desired colour is achieved.
Add all ingredients minus the colourings.

Add colour bit by bit and blend.

Add more if desired. I use a skew dipped into
the bottles to help control colour.

Top cupcakes with icing.

I chose to add little sugar flowers.

Ta-da!

Perfect for your next picnic.

There was enough left over butter cream to suit 12 cupcakes if you choose to make the recipe proportions larger, or enough to pipe on icing to create a high-top.


Until next time.
Love love Elle.


Related Posts Plugin for WordPress, Blogger...