Showing posts with label Baking. Show all posts

Saturday, 9 November 2013

and Raw Vegan Chocolate Strawberry Silk Pie

Raw Vegan Chocolate Strawberry Silk Pie


After last years Raw Vegan Blueberry Cheesecake I made for my niece, Isabella's birthday, I had to find a just as impressive cake for her second birthday. I scrolled through the internet and found this one: Raw Vegan Chocolate Strawberry Silk Pie from Fragrant Vanilla Cake. So I got out my food processor and gave it a go, making a few tweaks and I also doubled the recipe. So here it is but unfortunately in all of my excitement I forgot to to take photo's of me making the crust.

Raw Vegan Chocolate Strawberry Silk Pie
Adapted from Fragrant Vanilla Cake
Preparation: Overnight plus 2 hours
Setting time: 1 hour

Ingredients:

Crust:
  • 3 1/2 cup finely shredded dried coconut
  • 2 cup raw pecans
  • 25 soft medjool dates, pitted
  • 1/2 tsp sea salt
  • 1/4 cup raw cacao powder
Chocolate mousse:
  • 4 cups diced ripe avocados (about 6 medium)
  • 1/2 cup plus 2 Tbsp raw coconut nectar
  • 1/4 tsp sea salt
  • 1 Tbsp pure vanilla extract 
  • 2/3 cup raw cacao powder
  • 2/3 coconut butter, liquified
Strawberry Cream:
  • 4 cup raw cashew pieces (preferably soaked overnight)
  • 1/2 cup fresh coconut water
  • 2/3 raw coconut nectar
  • 1/2 tsp sea salt
  • 2 Tbsp pure vanilla extract and seeds of 2 vanilla bean
  • 3/4 cup raw coconut oil (warmed to liquid)
  • 2 cup fresh strawberries
Decoration:
  • Strawberries
  • Raw chocolate

Method:

Crust:
  1. Line a 22cm springform tin with baking paper.
  2. Combine all of the ingredients in the food processor and process to a fine crumb. If the mixture doesn't hold together when squeezed between your fingers, add a few more dates and process until this is achieved.
  3. Press the mixture into the bottom and part way up the sides. Use a glass tumbler to help stamp the mixture down and press it up the sides.
  4. Place the tin in the fridge while you make the fillings.
Chocolate Mousse:
  1. Combine all of the ingredients in a food processor and blend until smooth.
  2. Pour onto the prepared crust. 
  3. Slice a few berries and lay on top of the mousse.
  4. Place the mixture back into the fridge while you make the cream.


All of the ingrediants.


Slice the avocados and add to the blender with the other ingredients.

Process!

Scoop on to the crust. (Note the sides to the crust.)

Smooth the mixture a little.

Arrange some sliced strawberries on top.

Strawberry Cream:
  1. Add the cashews, coconut water, coconut nectar, sea salt and the vanillas into a food processor and process until smooth.
  2. While the processor is running slowly pour the coconut oil into the processor.
  3. Add the strawberries and process again until smooth.
  4. Place the mixture into a bowl and into the freezer for around 45 minutes.
  5. Spoon the strawberry cream onto the chocolate mousse.
  6. Scatter some more sliced strawberries and the chopped raw chocolate on to the cake and place back into the fridge for at least an hour before serving.


Add the cashews, coconut water and nectar into the food 
processor with the sea salt and vanillas.

Nothing beats freshly scrapped vanilla beans!
  
Slowly pour in the coconut oil and process until smooth.

Add in strawberries.

Process.

After setting in the freezer for 45 minutes spoon onto mousse.

Flatten top

Now chop up your raw chocolate and slice some more strawberries.
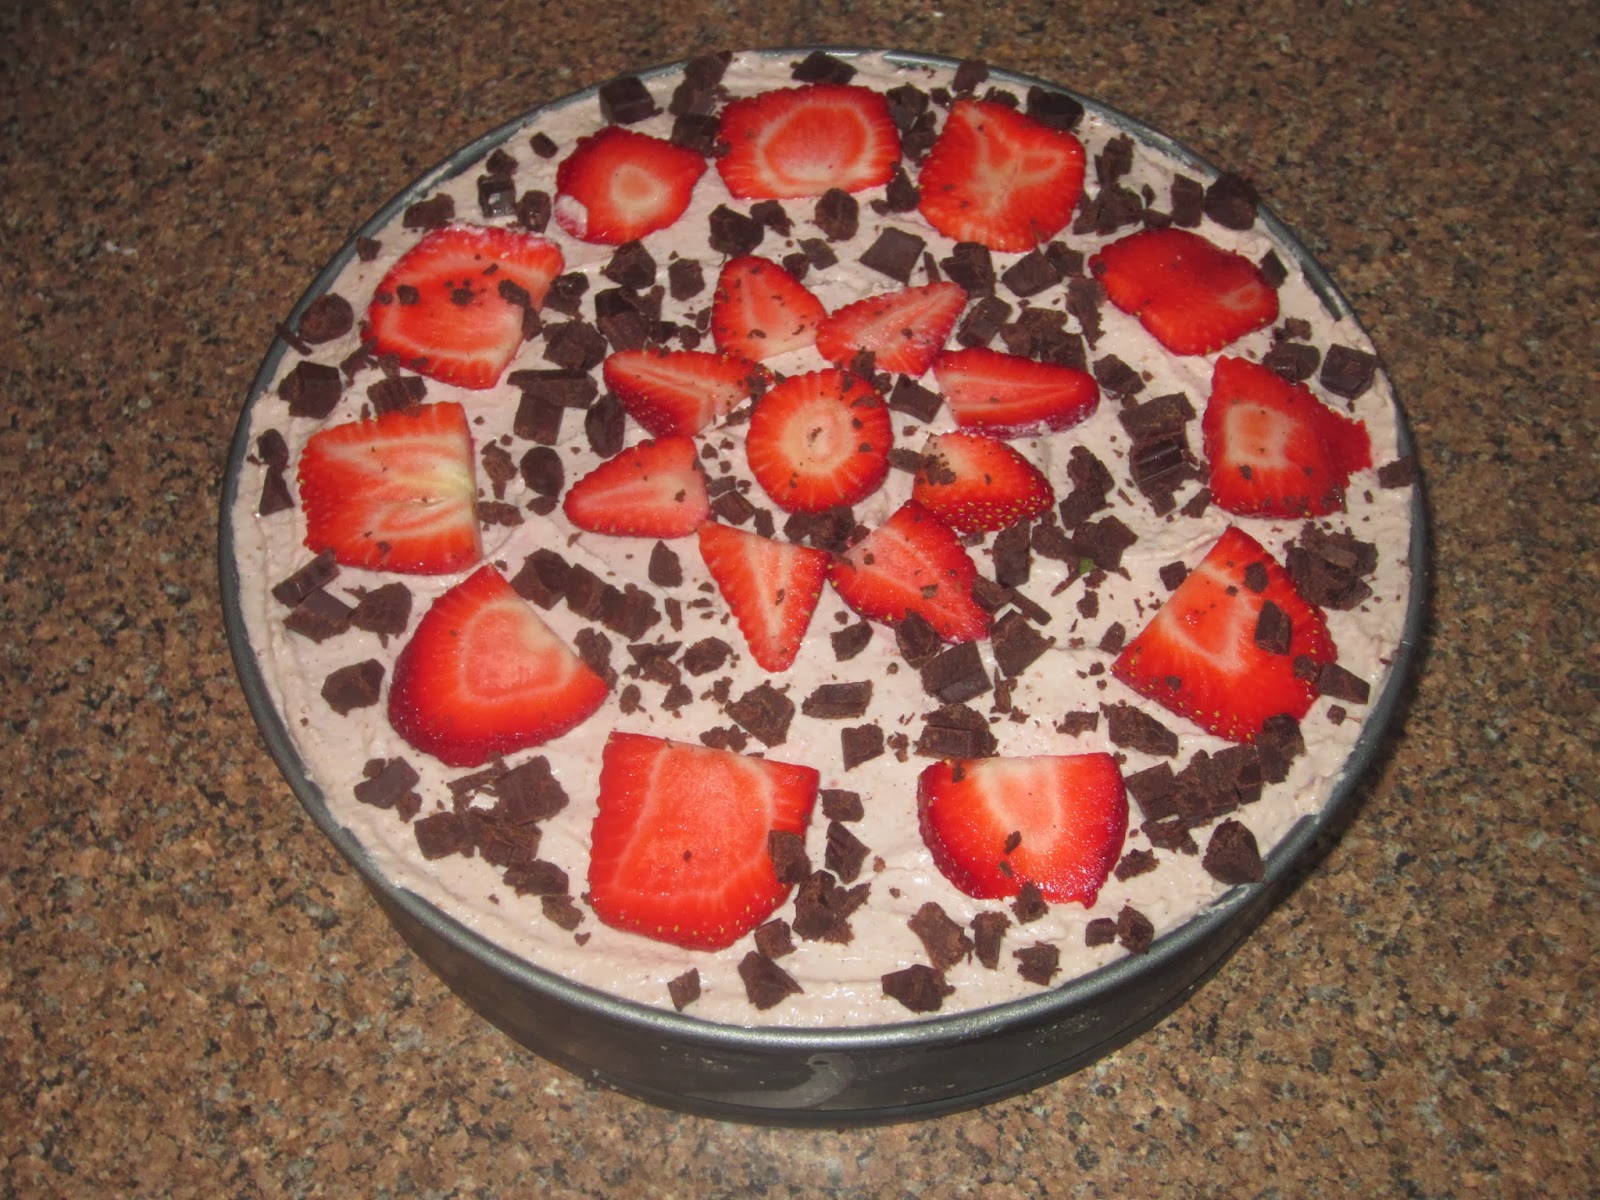
Decorate as desired.

Chill until your ready to serve!


This was my first attempt at vegan mousse and I have to say, I am defiantly a fan. Although I am not vegan, I love making different types of cakes for my loved ones. I also love challenging peoples perception of raw, vegan food. People are often afraid to try raw food thinking it's going to taste 'raw'. It does taste different, but this isn't necessarily a bad thing. Plus I know my sister is very grateful for all my efforts in accommodating others dietary requirements.

So if you haven't made anything raw before, give it a go. You never know, you may prefer it!

Until next time.
Love, love Elle.


Friday, 6 September 2013

and Caramel Biscuit Bites

Caramel Biscuit Bites

Recipe from 'The Australia Women's Weekly Chocolate Cookbook'


I normally don't repeat myself when it comes to recipe because like to try new recipes and tastes. But there are occasions when I revisit an old favourite. It might be because it is a simple recipe I know off by heart and can make in a flash, or it could be requested. This recipe was request by a colleague for a morning tea at work. Also it is extremely easy to make.

Chunky Caramel  Biscuit Bites
Preparation time: 35 minutes
Setting time: 1 hour
Makes: 12+

Ingredients:
  • 200g Milk Melts
  • 2Tbs Golden Syrup
  • 185g butter
  • 2Tbs Cream
  • 250g plain sweet biscuits, chopped
  • 2 cups flaked almonds
  • 2/3 cup flaked coconut
Topping
  • 200g milk chocolate, melted
  • 20g butter

Method:
  1. Grease and line a 19cm X 29cm square tin with baking paper.
  2. In a large sauce pan combine the milk melts, golden syrup, butter and cream.
  3. Stir constantly over a medium-high heat, without boiling, until the chocolate has melted.
  4. Add the biscuits, almonds and coconuts and stir until coated.
  5. Pour into the prepared tin and press flat. 
  6. Make the topping by combining the butter and chocolate together in a small bowl and stir until smooth.
  7. Pour the chocolate mixture over the base and refrigerate for an hour or until set.
  8. Cut into squares to serve.

Place golden syrup, melts, butter and cream in a sauce pan.

Chop up biscuits. It was Girl Guild cookie season so I brought some off of my niece.

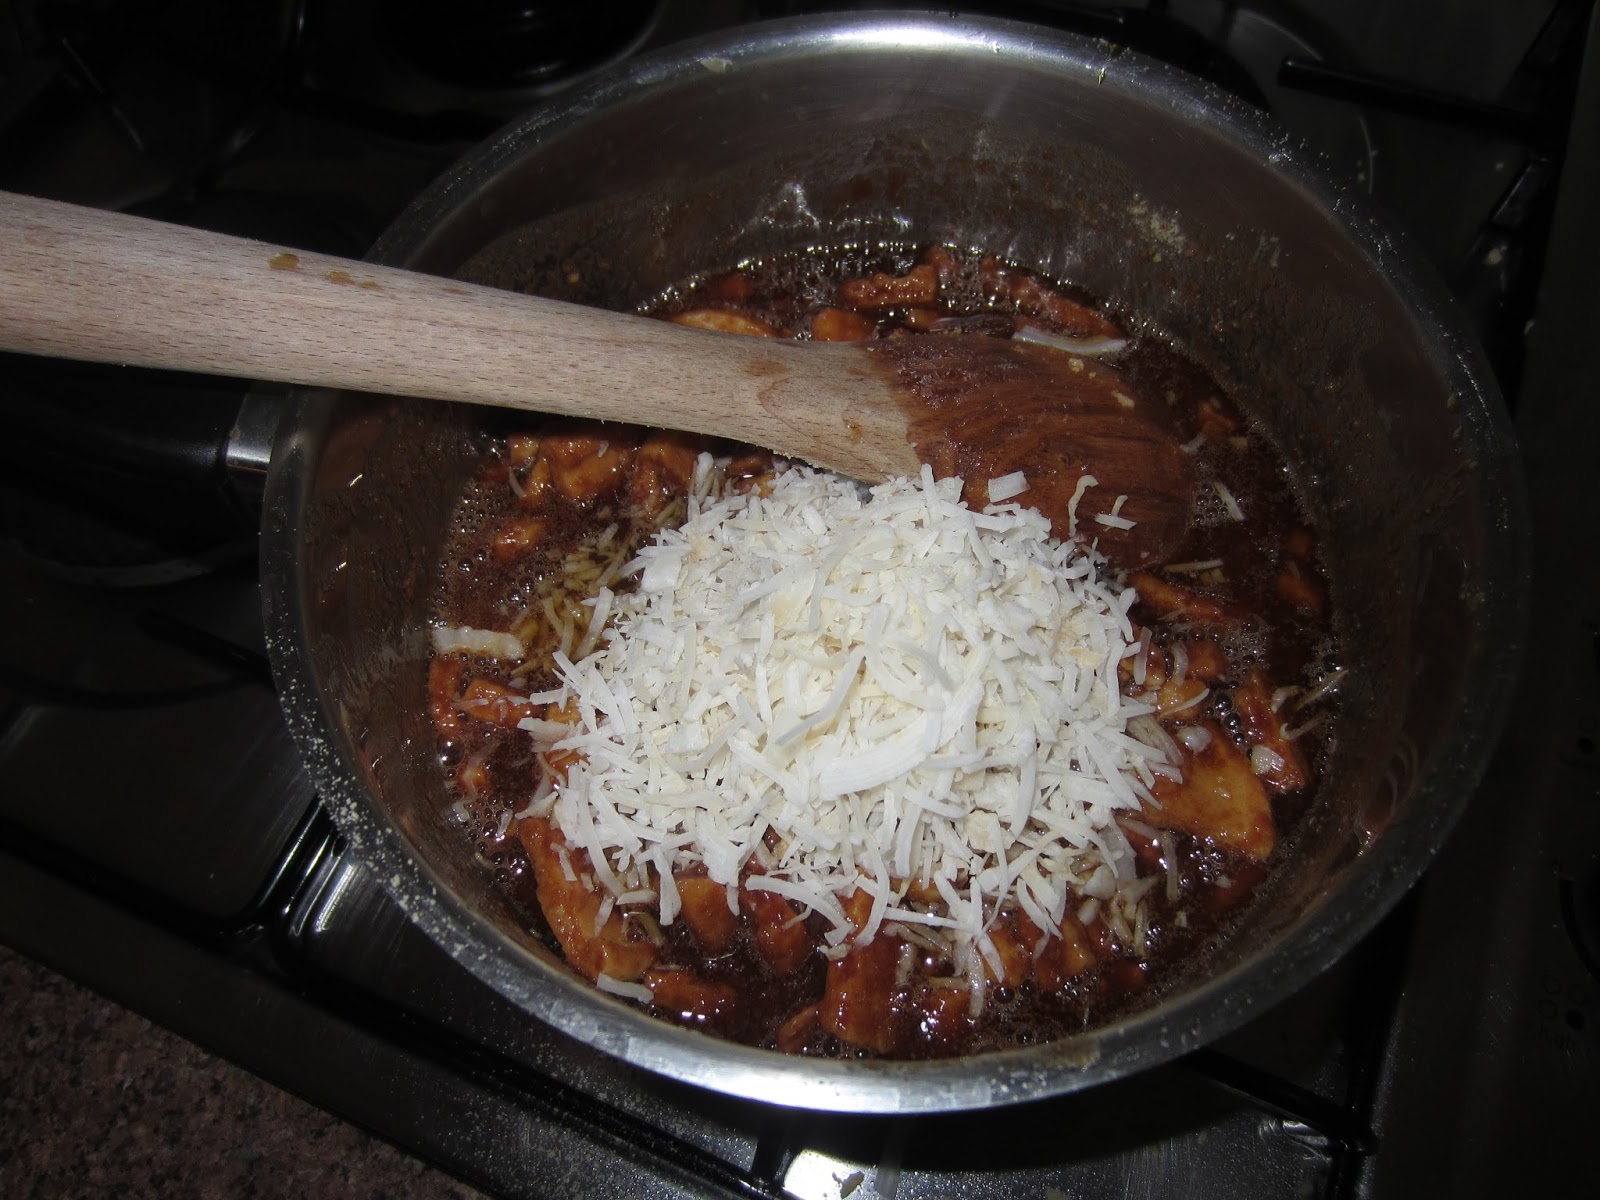
Stir in coconuts and biscuits. Chop the coconut if you like into smaller bits.

Add in almonds. Again, you can chop into smaller
pieces if you like before hand.

Stir until coated.

Pour in to prepared pan.

Pour over chocolate topping.

Cut after refrigeration.

Very chunky.

Serve!

The golden syrup is the magic ingredient in this recipe. It creates the rich caramel flavour and makes this recipe a real winner. I can always judge a recipe by how many people request it again or ask for the recipe. This little beauty had several requests and as you can see, it is very easy to make.

Happy baking!

Until next time.
Love, love Elle.


Saturday, 29 June 2013

and Raw Vegan Chocolate Cake

Raw Vegan Chocolate Cheesecake

Last month, for me, was full of birthdays. My sister and my niece have their birthdays just two days apart. My niece chose a pavlova for her cake and my sister wanted a chocolate cake. Well more accurately, her little boy wanted a 'brown cake', which is his term for a chocolate cake.

So I searched the net and cobbled together this recipe with a few variations.


Raw Vegan Chocolate Cake.
Preparation time: 40 mins
Setting time: 8 hours


Crust
  • ¾ cups well packed medjool dates
  • 1 Tbsp. freshly squeezed lemon juice
  • 1 Tbsp. vanilla paste
  • Pinch of sea salt
  • 1 ½ cups of ground hazelnut meal
  • ½ cup dried coconut
  • ½ cup cashews
  • 2 tsp. cacao nibs
  • Add a little coconut syrup/pure maple syrup, if mix is too bitter for your taste.
  1. Blend the dates in a food processor until a smooth paste forms. If it turns into a hard lump add a little water and blend. Repeat if required.
  2. Add the remaining ingredients and mix until smooth.
  3. The mixture should be fairly wet. Press into a lined/greased 20cm spring for tin and refrigerate until ready to add filling.


Filling
  • 2 cups cashews (soaked for at least 4 hours) 
  • 2/3 cup maple syrup
  • ¾ cup water
  • 2/3 cup cacao powder
  • 1 Tbsp. pure vanilla
  • 1/8 teaspoon salt
  • 1/3 cup melted coconut oil
  • ¼ cup melted coconut butter
  • ½ mixed berries approx.
  1. Blend all of the ingredients but the oil, butter and berries until smooth and creamy in a high speed blender.
  2. Add the butter and oil and blend again to incorporate. 
  3. Gently stir in the mixed berries.
  4. Pour over the crust.
  5. Set in the fridge for at least 8 hours.
  6. Decorate with more mixed berries.

Process dates until a paste forms

Add the remaining ingredients

And process again.

Press into tin. Flatten with a glass tumbler if desired.

Pile in the ingredients,

except the butter,oil and berries, then process.

In goes the coconut oil and butter.

Once combined, stir in the berries. Fresh or frozen.

Pour on top of the base.


Pile on more berries to serve!

The cake was perfect. The base was nice and fudgy and the berries mixed through it added a nice combination of sweet and tart to compliment the richness of the cake. I am starting to really enjoy making raw cakes and I can't wait to be more daring with my next one!

Until next time.
Love, love Elle.


Friday, 17 May 2013

and Vegan Brownies

Vegan Brownies

As well as making chocolate free blondies I also made Vegan Brownies. All of this baking was for a girls night in with friends. As well as a friend with chocolate allergies, a vegan friend also attended. So I decided to make her some brownies so she didn't miss out on all of the fun.


Vegan Brownies
Preperation: 15mins
Cooking 30
Makes: 9-12

Ingredients:
  • 1 1/2 cups plain flour
  • pinch of salt
  • 1 tightly-packed cup brown sugar
  • 1 tsp baking powder
  • ½1/2 cup cocoa powder
  • 90g vegan dark chocolate, melted
  • 1/2 cup vegan margarine, at room temp.
  • 1 cup soy milk
  • 1 tspn vanilla paste
  • 100g vegan white chocolate, roughly cut up if a block.

Method:
  1. Preheat oven to 180 degrees Celsius. Line a baking tray with baking paper.
  2. In a bowl or the bowl of a stand mixer, sift in the flour, baking powder and cocoa. Add the salt and sugar. Gentle stir by hand, if you use a mixer for this it will likely go everywhere.
  3. Add the dark chocolate, margarine, soy milk and vanilla to the bowl and beat until the mixture is completely combined.
  4. Fold in the white chocolate pieces.
  5. Spoon in the brownie mixture into the baking tray and smooth the top.
  6. Bake for 30 minutes or so until the top looks cooked and a skewer comes out clean when poked into the centre of the brownies.
  7. Cool for 15 minutes before serving or slicing.  
  8. Serve immediately or refrigerate until needed.
Add all of the dry ingredients into the bowl.

Melt the vegan dark chocolate.

Add the wet ingredients.

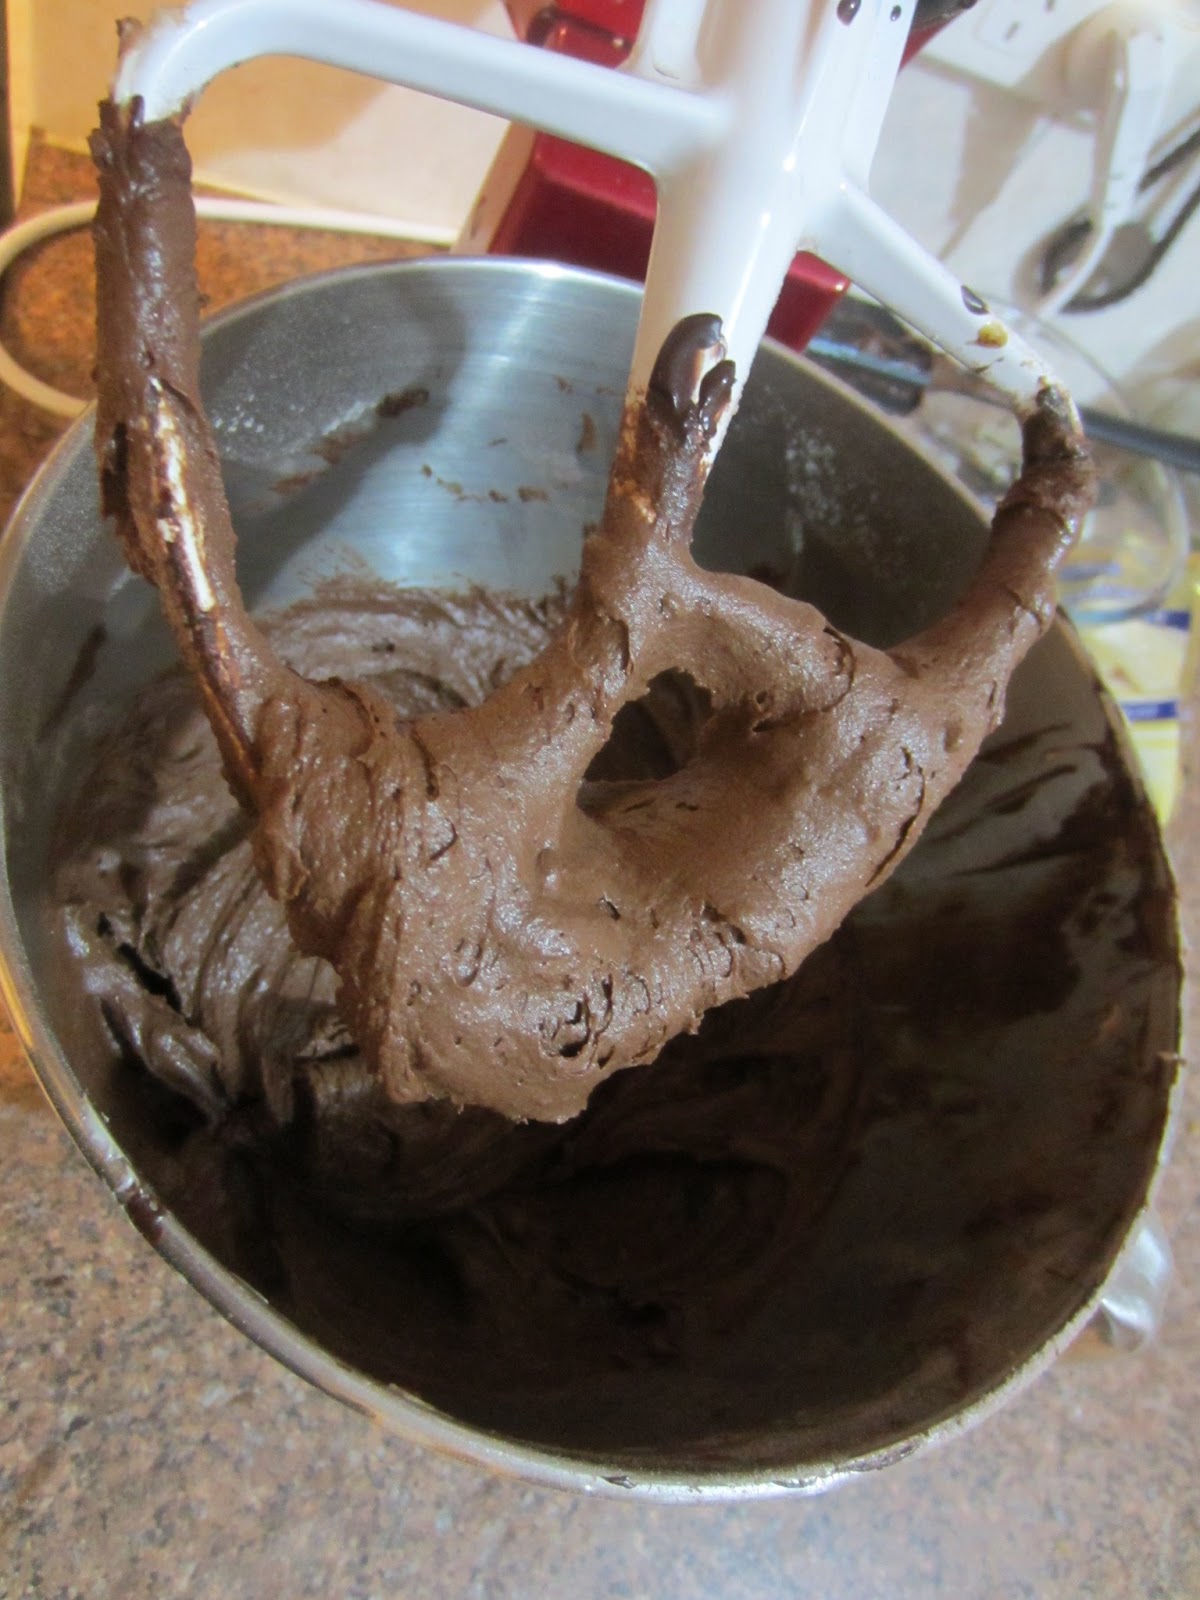
Mix until combined.

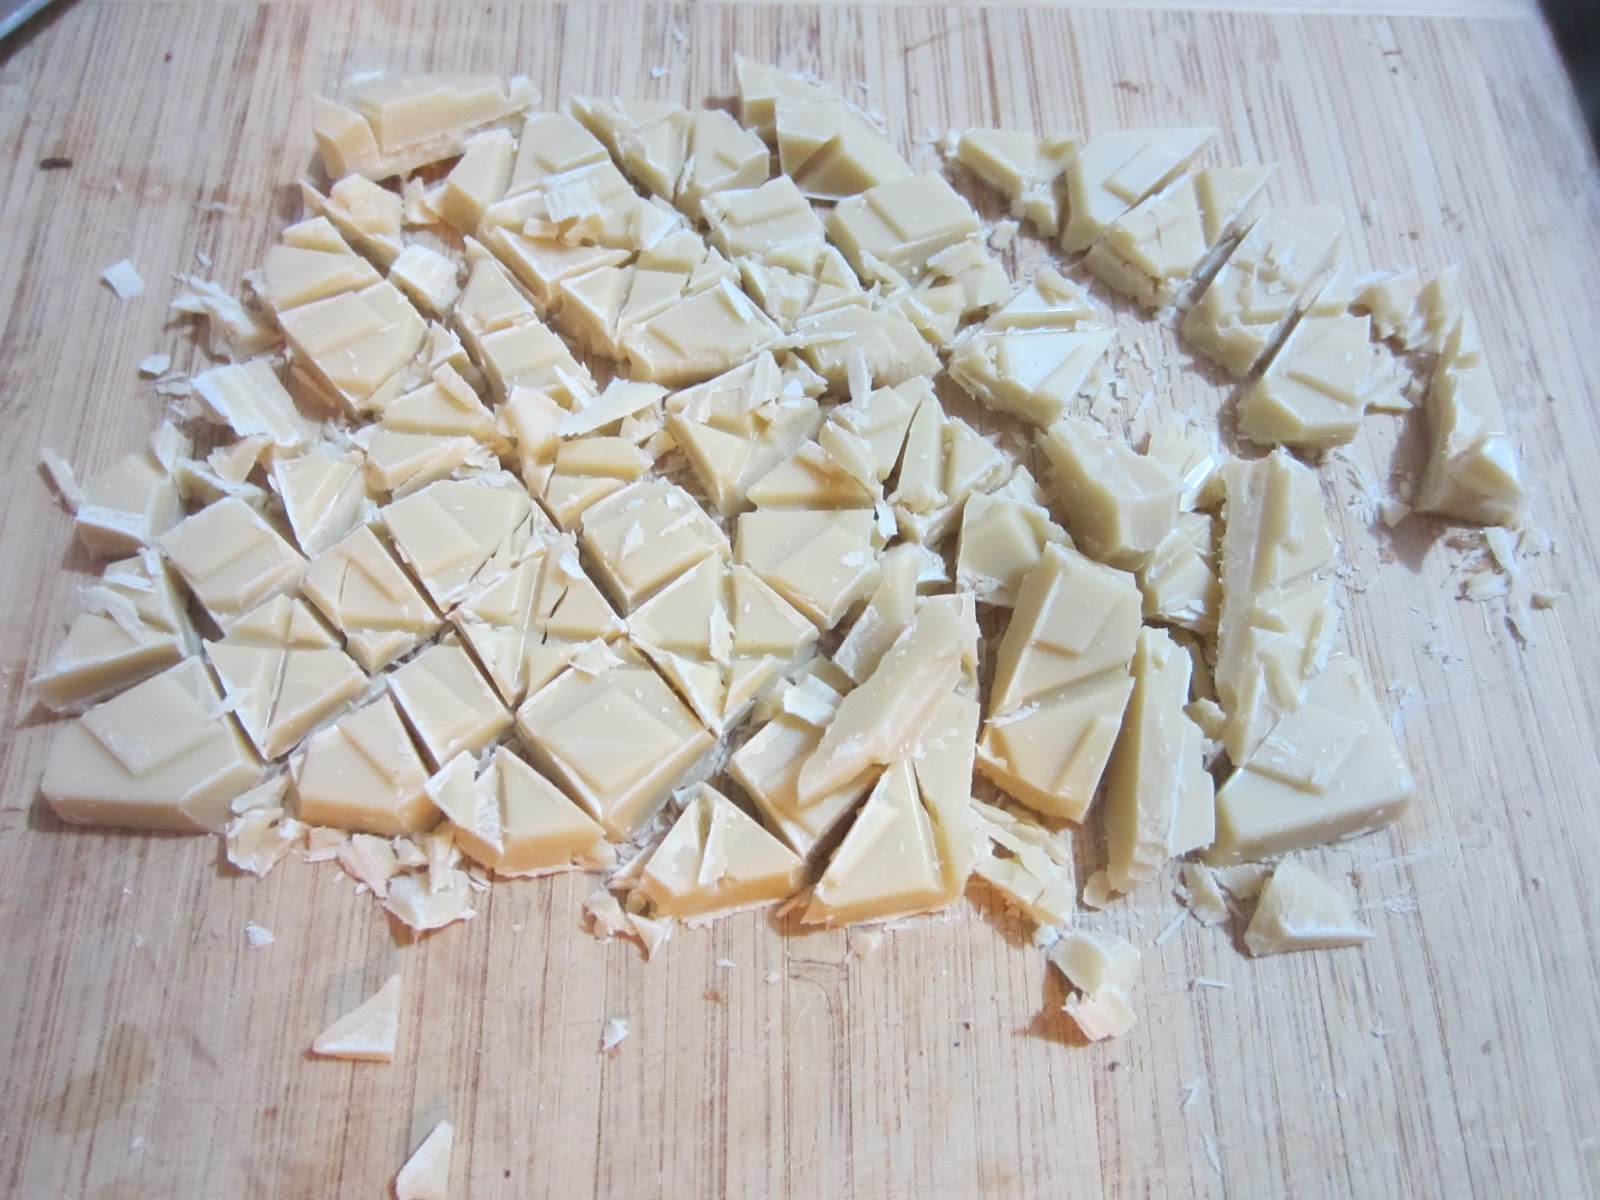
Chop up the vegan white chocolate.

Mix in the chocolate chunks.

Pour into the prepared tray and flatten the top.

Bake.

Once cool, cut up and serve.

The brownies can easily pass as standard brownies. They were cake like brownies with a small nutty taste from the soy milk in them. But, obviously, use your favourite non-dairy milk. I am very pleased with the recipe and my vegan friend absolutely loved them. I had some left over dark cocoa which made up almost half the cocoa requirements and gave the finished product a richer flavour. Both of the brownies sat happily on the dessert table while we watch 'Memoirs of a Geisha' and 'Little Miss Sunshine'.

We are looking at making the movie night a regular thing and I look forward to exploring more vegan and chocolate free desserts for my friends.

Until next time.
Love, Love Elle.


Sunday, 12 May 2013

and Chocolate Free Blondies

Chocolate Free Blondies

By right, blondies are cocoa free brownies. I only make the point of calling them chocolate free because a friend of mine is allergic to chocolate. More accurately cocoa. Poor girl, I know. So she can not eat a lot of delicious food, including white chocolate. Even though white chocolate doesn't have cocoa solids in it, it still has cocoa butter. What she can eat though is Milkybar because it contains no cocoa whatsoever. Another product she can eat is TimTam White. So I found a delicious blondie recipe and chopped up Milkybar instead of standard chocolate. Oh, she is also allergic to nuts as well as a large range of other foods, so walnuts etc were not an option.

Adapted from Blondies


Blondies
Preperation: 20
Cooking time: 25-30mins
Makes: 18

Ingredients:
  • 250g butter, melted
  • 2 cups of tightly packed dark brown sugar
  • 2 eggs, lightly beaten
  • 2 tsp of vanilla paste
  • 1 tsp of baking powder
  • 1/4 tsp of baking soda
  • 2 pinches of salt
  • 2 cups of plain flour
  • 1 block of Milkybar (or chocolate of choice. approx. 180g)
Method:
  1. Preheat the oven to 180°C. Spray cooking oil and line a 32x23cm rectangle cake tin. Put the melted butter and sugar in a bowl and whisk or into the bowl of your stand mixer and whisk together.
  2. Add the eggs and vanilla paste and continue to whisk.
  3. Add the flour, baking powder, baking soda and salt and change to a beater attachment or use a wooden spoon to mix together. Add roughly chopped Milkybar.
  4. Pour into the pan and spread evenly. Bake for 25-30mins or until a skewer comes out clean. Allow to cool before cutting into squares and serving.


Dark brown sugar for extra richness.

Lightly whisk the eggs.

Whisk butter and sugar.

Whisk in the eggs and vanilla paste.

Then stir in the flour, baking powder, baking soda and salt.

Roughly chop the Milkybar.

Mix in the Milkybar.

Pour into the prepared tin and bake.

Allow to cool.
  
Chop up the blondie into squares and serve.

The blondies were a huge success. The dark brown sugar helped to make them deliciously caramelly and very gooey. Using vanilla paste made them rich and decadent. My friend felt very special that I made blondies designed for her. She sadly misses out on a lot of great food because of her extensive allergy list, but I was more then happy to accommodate her needs. I am lucky enough to be able to eat anything that I choose, although I do choose not to eat a lot of things. I don't often bake for me, I prefer to bake for others.
Enjoy!

Until next time.
Love, love Elle.

Related Posts Plugin for WordPress, Blogger...